How to customize your page update notification bar
Let's learn how to get rid of that gray bland notification bar

Hello fellow bubblers,
This article will be short and sweet. In this issue, we’re going to learn how to customize the page reload/refresh notification bar. This notification appears every time any changes are made in your application and, well… it could be better. So let’s make it better.
Note: This tutorial will not work for applications built on Bubble’s free plan. You will need a paid for these changes to take effect.

Getting started
To get started, you’ll need to open up your bubble application and navigate to the settings tab, then the SEO/Metatags tab. Here, you’ll find an Advanced settings section, with an input for the header and body. We’ll only be working with the body input for this tutorial.

We’ll start by adding style tags into the body input:
<style>
</style>
Finding the div element on the page
Open up your app and navigate to any page. Then, click on preview to view the app in your browser. For this example, I’m using the AI app I built in my previous tutorial. You can find that tutorial below:

Next, right click on a blank section of the page and click on ‘inspect’. This will allow you to see the html and css source code in your app.

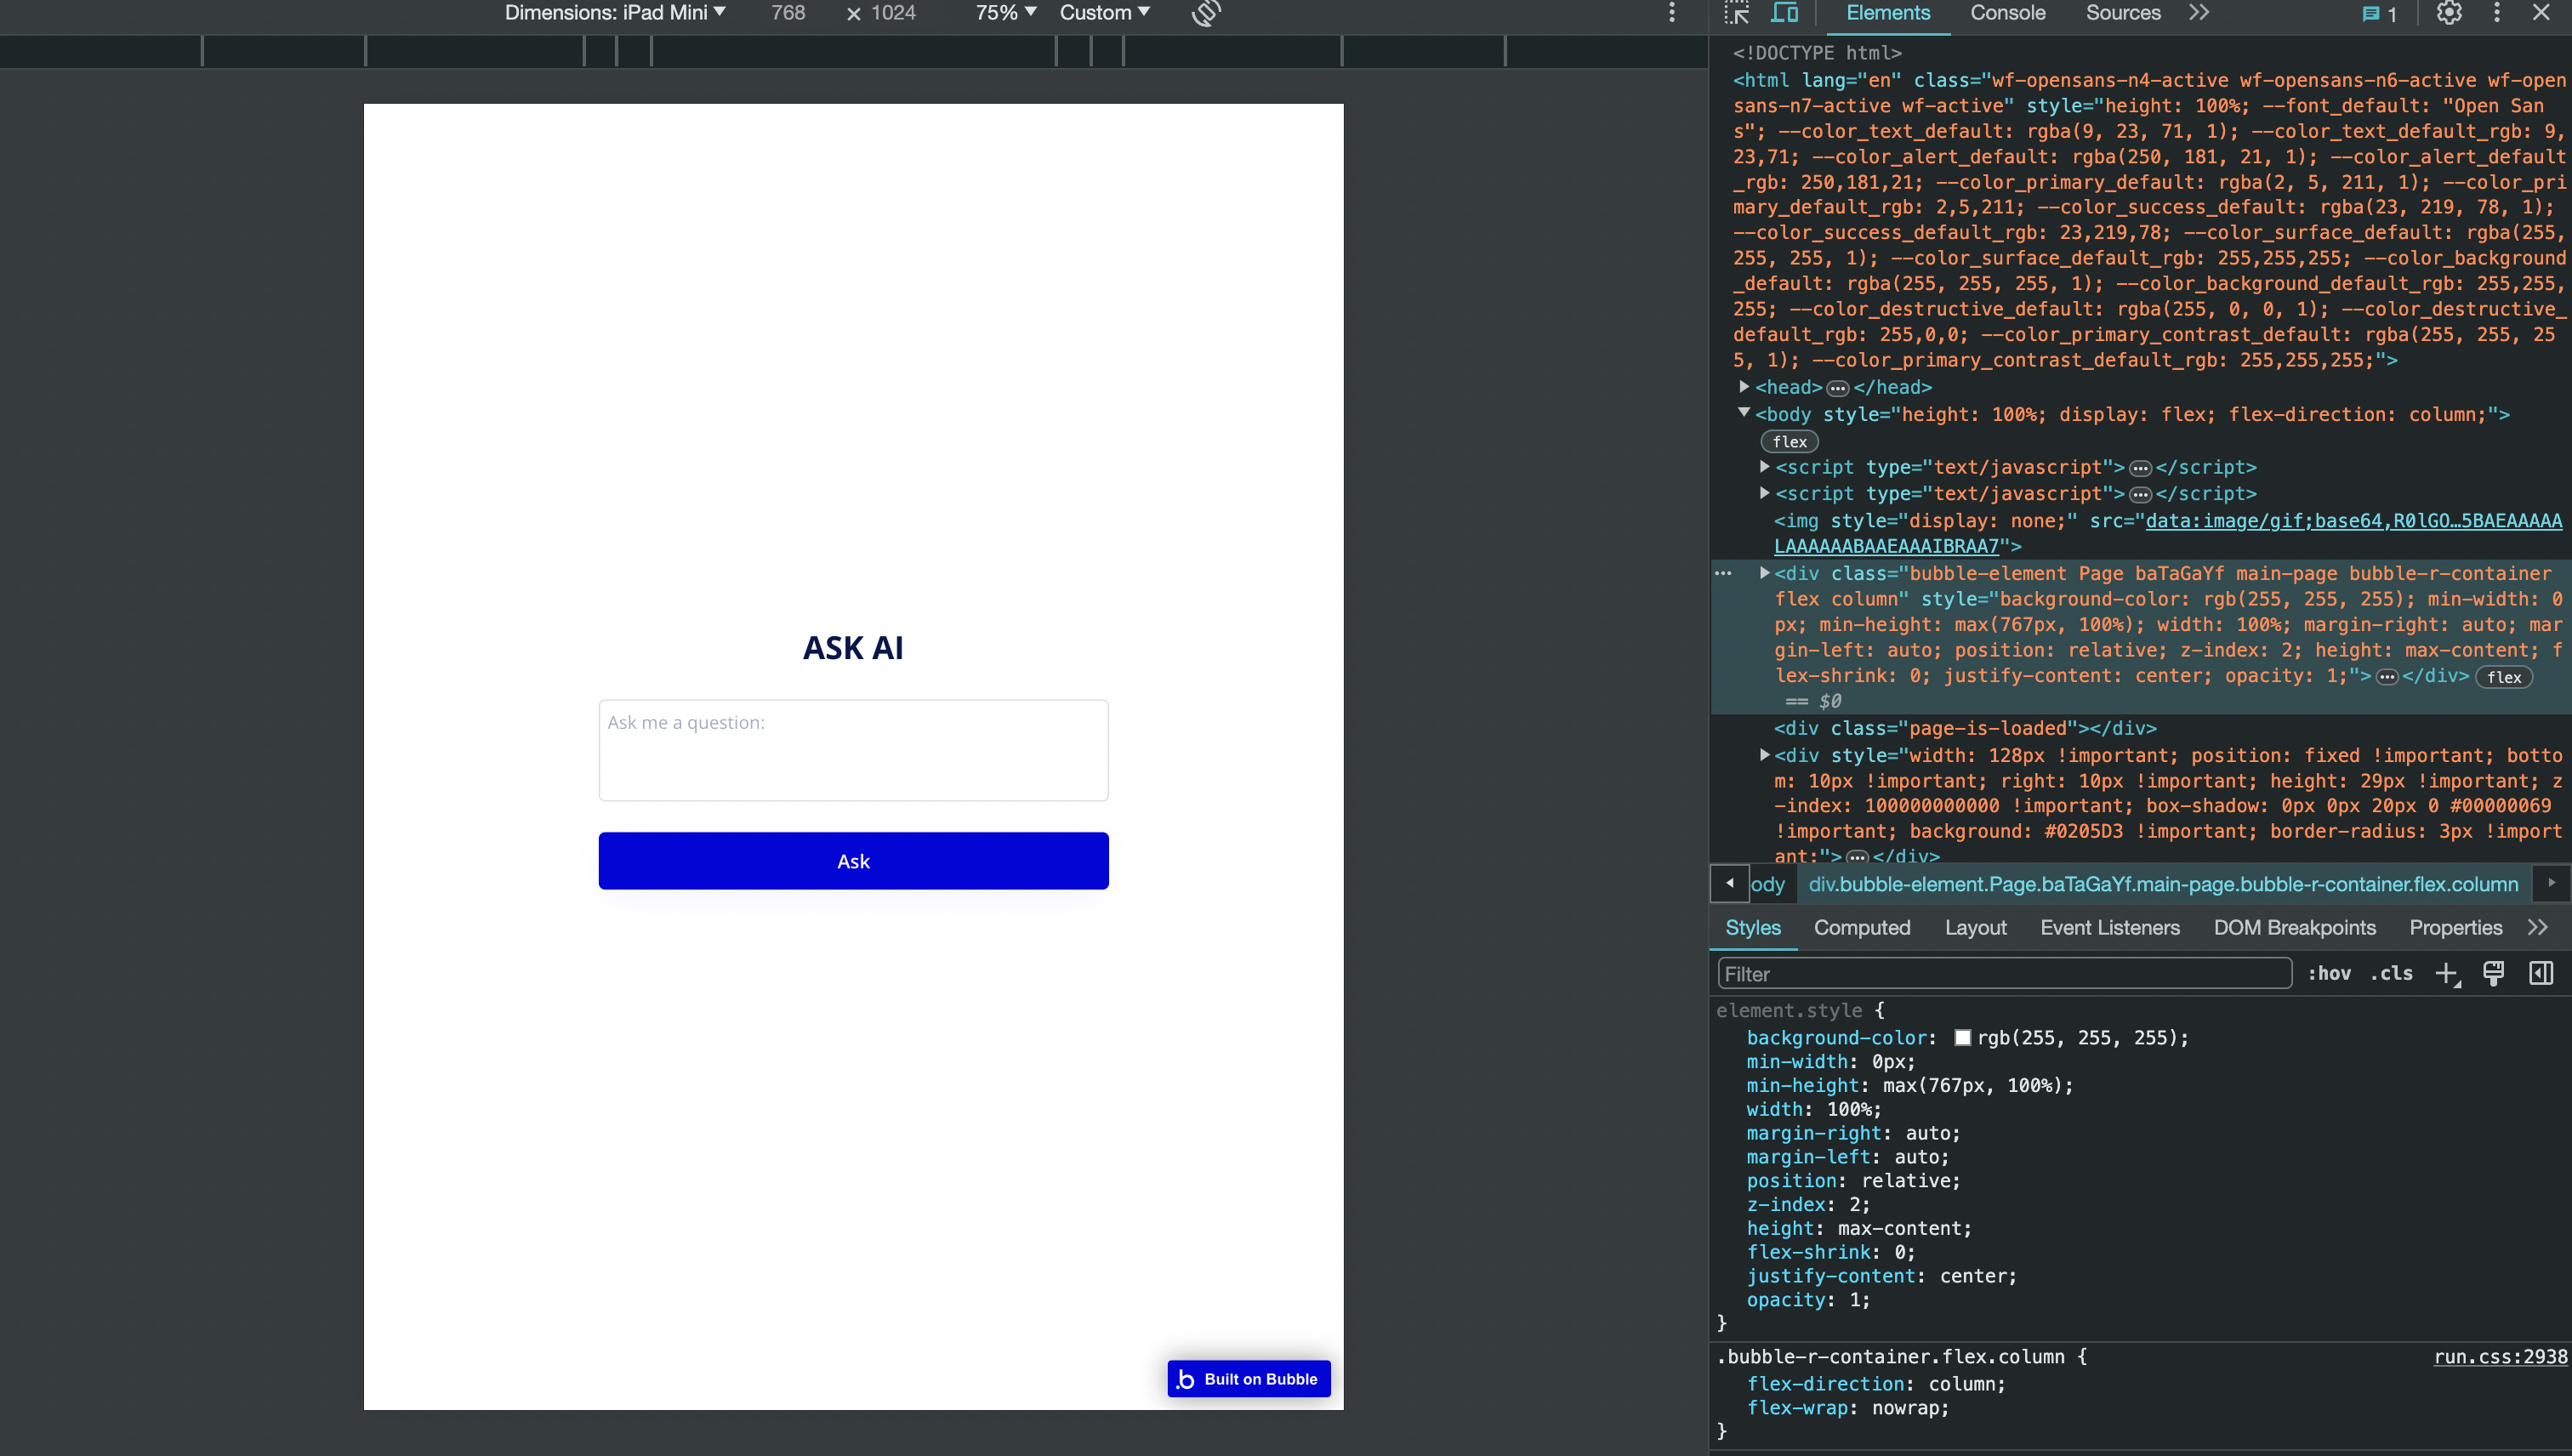
If you make a minor change in your editor, your page refresh notification bar will appear. Once it appears, do not click it! Instead, click on the arrow icon in the developer tools sidebar. It can be found at the top left of the sidebar, next to the mobile/laptop icon.
Next, hover over the notification bar. You’ll see the name and properties of the notification bar appear. This is the element we’ll be customizing in Bubble’s settings. It’s labeled as ‘div.bad-revision’.


Finding the div element in Bubble’s settings
An alternative way of finding the name of this element is by going to Bubble’s settings page, then the language tab. In the Application texts and messages section, you’ll see a series of inputs. If you scroll down to the eighth item from the top, you’ll see the text that appears in Bubble’s refresh bar, and you’ll notice that it is labeled BAD_REVISION. You can customize the text that appears in your refresh bar by changing the text in this input. However, to change the visual appearance of it, you’ll need to add styles, which we’ll cover next.

Customizing the style
Within the style tags, we’ll add the div tag for the bad revision div and change the background colour and font colour (note, you may need to make frequent changes to your page to make the notification bar appear to see your results. Alternatively, you can customize the div to your liking directly in your browser using dev tools, then copy those parameters into your the body section of your Bubble settings).
You can add the following to get started (the color I chose to change to was blue)
<style>
.bad-revision {
background-color: #0085FF;
color: #FFFFFF;
</style>
This is what it looks like with these changes:

Next, I’d like to make the div align to the top left of the screen, instead of span the entire screen. So let’s change the width, and add some margin and padding using the following:
margin: 16px;
padding: 16px;
max-width: 30%;
border-radius: 8px;
You should now have something that looks like this on each page refresh:

That’s it for this tutorial!
You can keep customizing the notification bar to your liking. Play around with the width, the font size, the shadows, the border radius until you find something you like. You can also add keyframes to animate it so it slides into view each time it’s triggered.
I hope you found this tutorial helpful. If you did, subscribe and share to help other Bubblers!
Happy Bubbling!
Shiku