How to Connect Bubble.io to OpenAI API
Building an AI app in Bubble is easy, and only takes a few simple steps!

Hello fellow Bubblers,
In this article we’re going to go over how to connect your Bubble app to OpenAI, to build a simple AI powered application. This tutorial will not require use of Bubble.io’s database.
If exploring AI seems intimidating, rest assured that this step-by-step process breaks down the process into simple steps that will get you off the ground in minutes!
Prerequisites:
In order to follow this tutorial, you’ll need to have the following:
Note, while this tutorial will explain the process of connecting your Bubble app to OpenAI, it is always beneficial to read the documentation of any new API’s you’re exploring, so you can better understand how they work. You can read through the OpenAI documentation here.
Getting Started
Open your OpenAI account, and navigate to the API Keys tab in the left sidebar. With a new account, you’ll notice that you do not have any API keys. Generate a new key by clicking on + Create new secret key. In the popup, leave the permissions as All for purposes of this tutorial. Make sure you save your key somewhere safe.
Bubble API setup
Open up Bubble.io and navigate to the plugins tab. Add the API Connector plugin by Bubble. With the API connector open, click on Add another API and label it OpenAI. Leave the authentication as ‘None or self-handled’. Add two new shared headers, and label them as follows:
Key: Content-Type. Value: application/json
Key: Authorization Value: Bearer [Your secret key]
You should insert the secret key you got from OpenAI in the Authorization value input, and ensure that there is a space between the word ‘Bearer’ and your key.
Next we’ll set up our first call. In this tutorial we’ll use the text generation model to build a simplified chatbot.
Name your API call text completion and change the ‘Use as’ dopdown to Action. This will allow us to access the API via workflows. Then, change the call from ‘Get’ to Post. In the input, paste the following text:
https://api.openai.com/v1/chat/completions
Further down in the large body input, paste in the following text:
{
    "model": "gpt-3.5-turbo",
    "messages": [
      {
        "role": "system",
        "content": "You are a helpful assistant."
      },
      {
        "role": "user",
        "content": "<question>"
      }
    ]
  }
What this call does is set the state of the GPT that you’re interacting with to a ‘helpful assistant’. In the next section, the question is put into angle brackets to make them dynamic. This means that when it comes to setting up our workflows, this will be the only content that is accessed and changed. Ensure that the ‘private’ checkbox for the dynamic question is left unchecked. You can then insert any short question you like in the input, simply for purposes of initializing this call.
You should now have something that looks like this:

Finally, initialize your call. Your response should look as follows:

Not yet subscribed to How to Bubble? Subscribe now so you don’t miss any of our upcoming detailed tutorials on how to build apps in Bubble.io!
Building the frontend
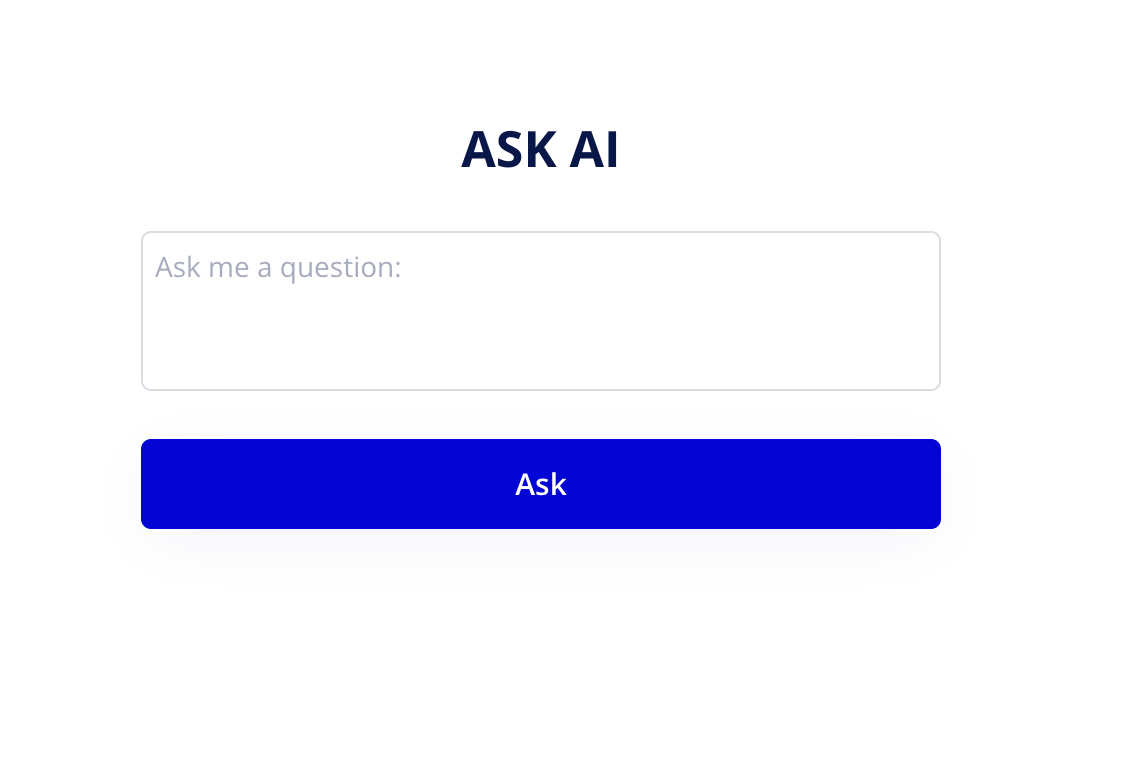
Since we’re building a simple question-and-answer AI tool, you’ll only need a few things on the front-end of the app:
Title Text
Multiline input
Button
Text field (to display the AI responses)
Second button (to reset)
Add a group to the page and set it’s layout to column, and remove any fixed width. Inside the group, add a text element (for the title) a multiline input (for users questions) and a Button (to trigger the workflows). The spacing and layout is up to you, but I shall give a breakdown of my setup. I used an input set to 400px width, and a button of the same width. I also set the group to have 24px spacing between elements. It looks as follows:
Next, I added another group on the page, beneath the group containing the elements shown in the above picture. In this new group, I added a text element, and another button. The text element is to display the AI’s response, and the button is to reset the page to allow the user to ask another question. It looks as follows:
Next, on the page itself, I added a custom state that I labelled as ‘AI-response’ and set to a text type.

Finally, I added conditional statements to the first group (Group A) and the second group (Group B). For Group A, I set a conditional that if Index page’s AI-response is empty, do not show this element. By doing this, once the answer is generated and displayed on the page, the question group will be hidden. In the layout tab, set the group to collapse on hidden, by checking the box with the same label.

Finally, for group B, create a conditional that is the opposite of the condition shown above. This group should appear when the response is there, since it contains the text element that will display the response. Ensure that this group also collapses when hidden, and uncheck the bot 'This element is visible on page load’ so that this group is not visible at the start.

Bring it to life with workflows
The last step involves creating only two workflows. The first is for the Ask button, and the second is for the reset button.
Workflow 1: Ask a question
First, add a new workflow to the Ask button. In the first action, select OpenAI text completion - this is the API call we set up in the API connector.

Then, set the question to reference the multiline input on the page.

For the next action, select Reset relevant inputs. Finally, the last action should be to set the state of the page. Here, we shall be referencing the results form the first step (the call to OpenAI), and setting it as a state on the page. To do this select Results of step 1 → choices → each item’s message content → format as text. In the format as text window, simply select ‘this text’ in the content input, and put a space in the delimiter input.
Workflow 2: Reset the page
Create a new workflow on the second button on the page. This workflow will contain only one action, which is to reset the AI-response state of the page. You do this by simply leaving the input for the state blank, as shown below.

By doing this, all the conditionals we set up on the front-end will determine which groups get hidden and shown, thereby resetting your page.
And that’s it! You’ve now created a simple question-and-answer AI chat tool.
If you found this tutorial helpful, it would help me in return if you shared this article using the link below!
If you have any questions, or if any part of this tutorial was confusing, feel free to ask questions in the comments, and I will answer them as soon as possible!
Happy Bubbling!
Shiku